Adding Wings to My Planner Cart
Every so often you think of away to improve something. Generally, this comes out of need or the desire to fix a problem. In this case it was to fix a problem. I had already built a cart for my DeWalt 735 planer knowing I may need to add wings. I built the planer cart so that the side would support the height needed for wings. What I didn’t plan on was that the metal wings made by DeWalt would not fit once the planer was attached to the cart.
Back Story
When I first set up shop I purchased a Ridged planer. The Ridged planer only had two knives, but it was in my price range. It did a good job but wanted to get rid of the large amount of snipe. So rather than invest in a helical head for the Ridged, I purchased a DeWalt 735 from a friend who had never even unboxed the unit. So, I got a brand new DeWalt 735, but without a warranty for only $400. I figured it was a good price and I would add a helical head to the DeWalt later.
I was thrilled with the DeWalt 735. It handled the shorter lengths of board beautifully. Then I needed to run some longer boards, about 5 ft., and the snipe was back. At the price of lumber, I couldn’t see a reason to lose 6 inches on the end of each board.
The Plan
I determined that because the shorter boards, about 24 inches, ran through the DeWalt planer very good, that longer boards would do better with longer support. I had already planned the planer cart. Iit was just a matter of adding support for the longer wings.
Because this was a shop build, I didn’t need the best materials, so I used what I had around the shop. When I built the shop, I had made a great deal on 70+ sheets of ¾” plywood to put on the walls. What I didn’t know when I purchased the plywood was just how bad it was. Just sitting in a stack sheets bowed. Fortunately, I had purchased enough extra I was able to avoid using the worst of the bunch. Believe me, if you stood two of the sheets side by side with the bow outward, all you needed was a bottom and you had a boat with bowed sides.
The Build
When I built the cart, I was able to reduce the bow because of the smaller pieces, but I had to put bracing on the sides to hold the panels straight. The cart came out ok and functional. To build the wings, I had a couple pieces of plywood I set aside just for the wings because they were mostly straight. I found some hinges I thought would work well for the wings because they would give 12 inches of support to the length of the wing. The hinges would lock in-place and had an easy release lever.
The first step was to check and see if the sides of the cart were too high or too low. I put a flat edge through the planer and lowered the head so it would hold the straight edge tight against the table of the planer. Then I took a cutoff of the plywood, slid it between the straight edge and the top of the cart side. I had just a little more space than the thickness of the laminate for the wings. That still left me a hair low, but it also gave me a little wiggle room. After temporarily attaching the hinges to the cart I was able to lay the wing on the hinges and mark the underside where the hinges needed to line up.
Preparing the Wings

At this point all I had was two small pieces of plywood. Knowing the problem that this plywood has with bowing, I made some hardwood braces I could screw to the bottom of the wing. Knowing plywood wouldn’t hold the screw as well as hardwood I screwed the brace to the plywood through the top of the wing. This meant the screw head would be under the laminate. I applied contact cement to the wing and laminate so they would bond together. After the wings were built, I clamped a board on edge to the underside of the wing. This board would act as a stop for attaching the hinges.

Attaching the fully assembled wing to the cart was a little harder. When you work by yourself, I find coming up with a helper to hold something in place sometimes requires a bit of thought. I ended up using a bar clamp across the top of the side, clamped on both edges of the side, with the wing pinched under the bar to help hold the wing in place. This was a little precarious because I touched the wing with my shoulder a couple of times causing it to move out of place.
The Mistake

Whenever you have more than one of anything you usually make your mistakes on the first one. I did just that. The braces I put on the bottom of the wings were too deep and would not let the wing fold down to a reasonable position. I had to remove the first wing after install, remove the hinges and run the wing through the table saw on edge to reduce the height of the bracing. I ended up running the wings through the table saw twice to get them cut down far enough I could fold the wing down almost all the way. I couldn’t cut off anymore because on the second time through the saw blade just touched the tip of the screws. With the screws put in from the top, there was nothing more I could do.
The Results

My bad I forgot to run a test piece through so I could show comparison. So please accept my apologies. I will say I am impressed with what some extended wings can do to minimize snipe. I took a piece of cherry 6 feet long that had a little twist and some cupping. Keep in mind this piece of wood was taken out from underneath my wife’s fathers house after he passed at 84 years of age. It had been under the house for well over 30 years.
Anyway, I ran it through the planer on both sides at least a dozen times before it was planed across the width and length of the board. Below are pictures of both the best and worst ends of the board. This is the first set with the bad end. I marked where the snipe was. Personally, I believe this snipe is the result of cupping on that end.


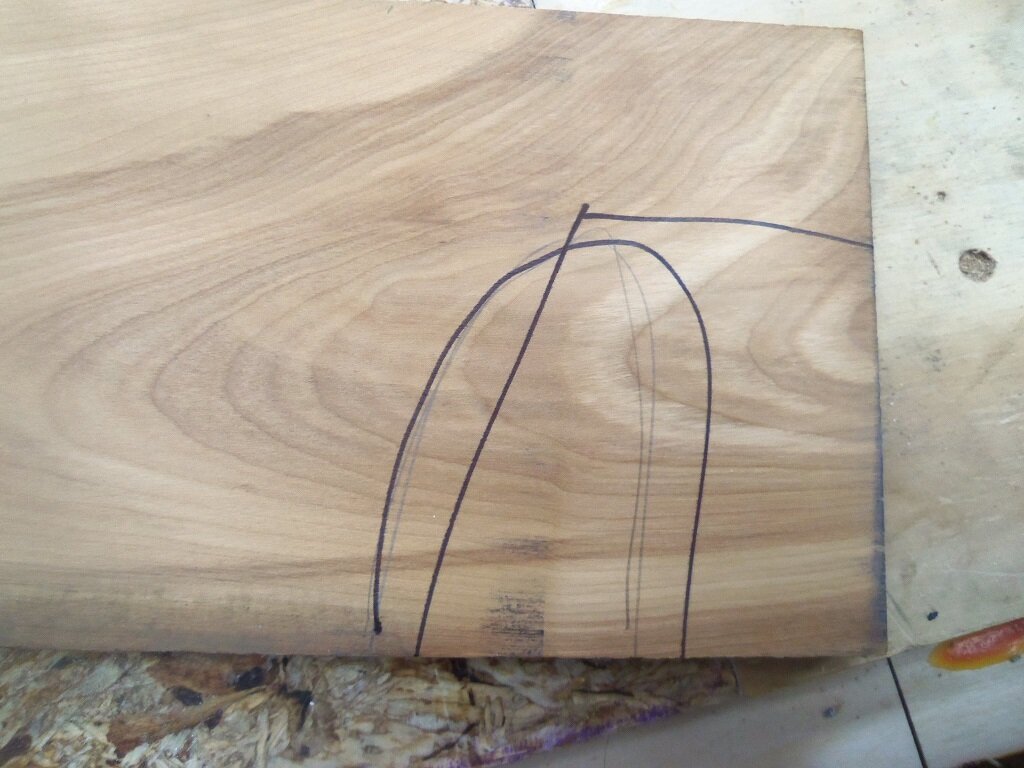
This second set shows the good end. I could not see any snipe, but I could feel just a very tiny bit. Nothing more than the normal pre-finish sanding wouldn’t eliminate.


Conclusion
This project was well worth the time to do. I went from having to cut off close to 6” on longer boards to virtually eliminating the snipe all together. Remember I have not put a helical head on the planer. That is for the future. My recommendation is to build a cart for your planer if you don’t have one and add extended wings to the sides. I was able to add 26 inches to the infeed and 30” to the outfeed.
I feel confident enough about the extended wings, I am sure they will help any planer from the 2 blade lunch box style to the big floor standing models.
Happy planeing 😊