Auxiliary Fence for Incra LS Fence System
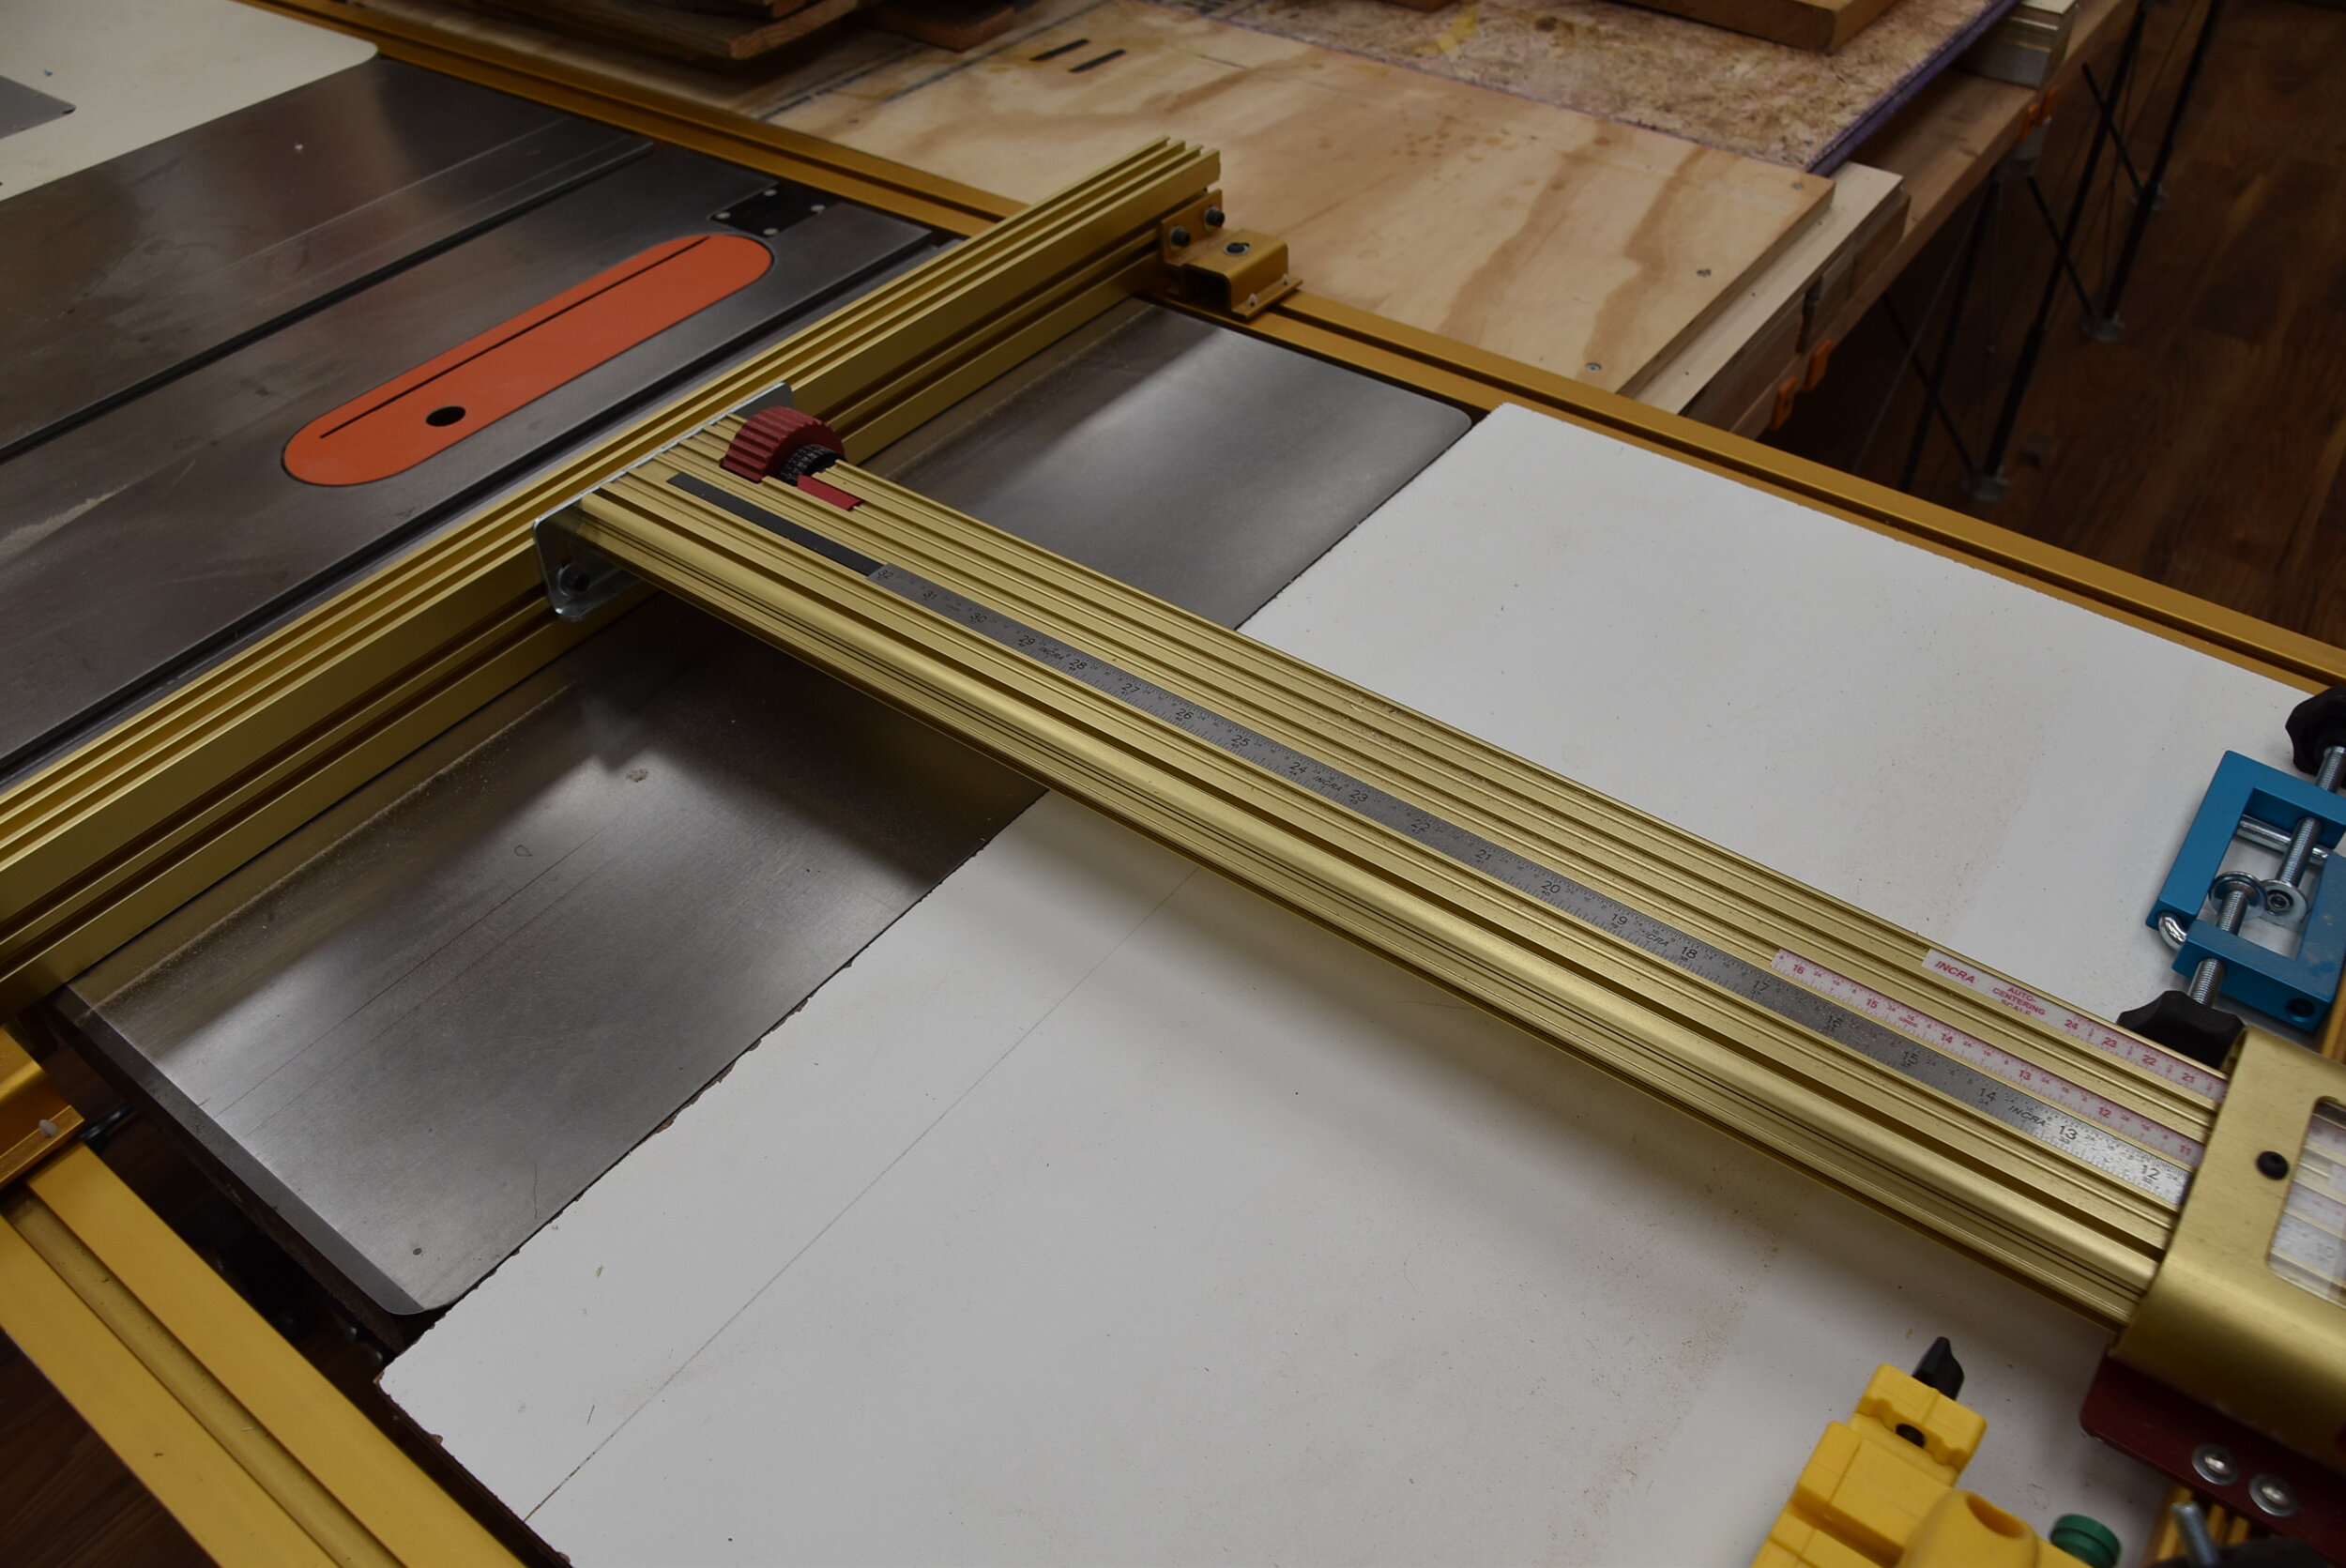
Who doesn’t need and auxiliary fence for their table saw? This Auxiliary fence is built for the Incra LS Fence System which has a couple of obstacles. First of which is the arm coming off the back of the fence. This arm requires that the back portion of the fence be split. The second obstacle is that on the back side of the fence there are two glides that attach the fence to the rails. To avoid hitting those guides the back portion needs to fit between the middle arm and the end guide. Additionally, some play must be allowed so the auxiliary fence can be taken on and off easily.


Because of the above limitations the auxiliary fence must be put on and taken off from the top making it cumbersome if you wanted to tighten the auxiliary fence down to the original fence. Because of the project I was working on and my wanting to keep going on with the other project I didn’t take the time to figure out a good way to accomplish attaching the fence firmly so it wouldn’t move. My current thought is to add two C-clamp style fence clamps but have not tried that yet.
The Build
The first thing you have to do is take accurate measurements. Take into consideration that you want just a little bit of play. If the finished piece fits too tightly over the current fence it will then be very difficult to put on and take off. Because I used MDF to make this fence I wanted my vertical pieces to be taller than the middle horizontal piece. This would eliminate the possibility of splitting the MDF when I attached the pieces with screws. For that little extra clearance I wanted the horizontal piece to be just slightly wider than the top of the fence. I snuck up on the size using my finger nail to test the width against the existing fence. The clearance between the top of the existing fence and the bottom of the horizontal piece I decided would be 2 playing cards thick and the the clearance under the back vertical pieces would be 4 playing cards thick so that the front piece would sit firmly on the table saw top. To get the best fit I put a 5 degree back bevel on the bottom of the front piece so that only about a 1/16 inch wide section of the bottom of the piece would sit on the table saw top. I made the face much taller than needed because I may add an auxiliary fence to this in the future that will allow some capabilities for cutting tall pieces.
Assembly

Finished Fence
Here is a view of the finished fence. As you can see there are some obstacles to workaround.

Assembly
Assembling the fence is very straight forward. The most important thing to remember is that you need to leave a bit of clearance around all the obstacles of the back side of the fence too.
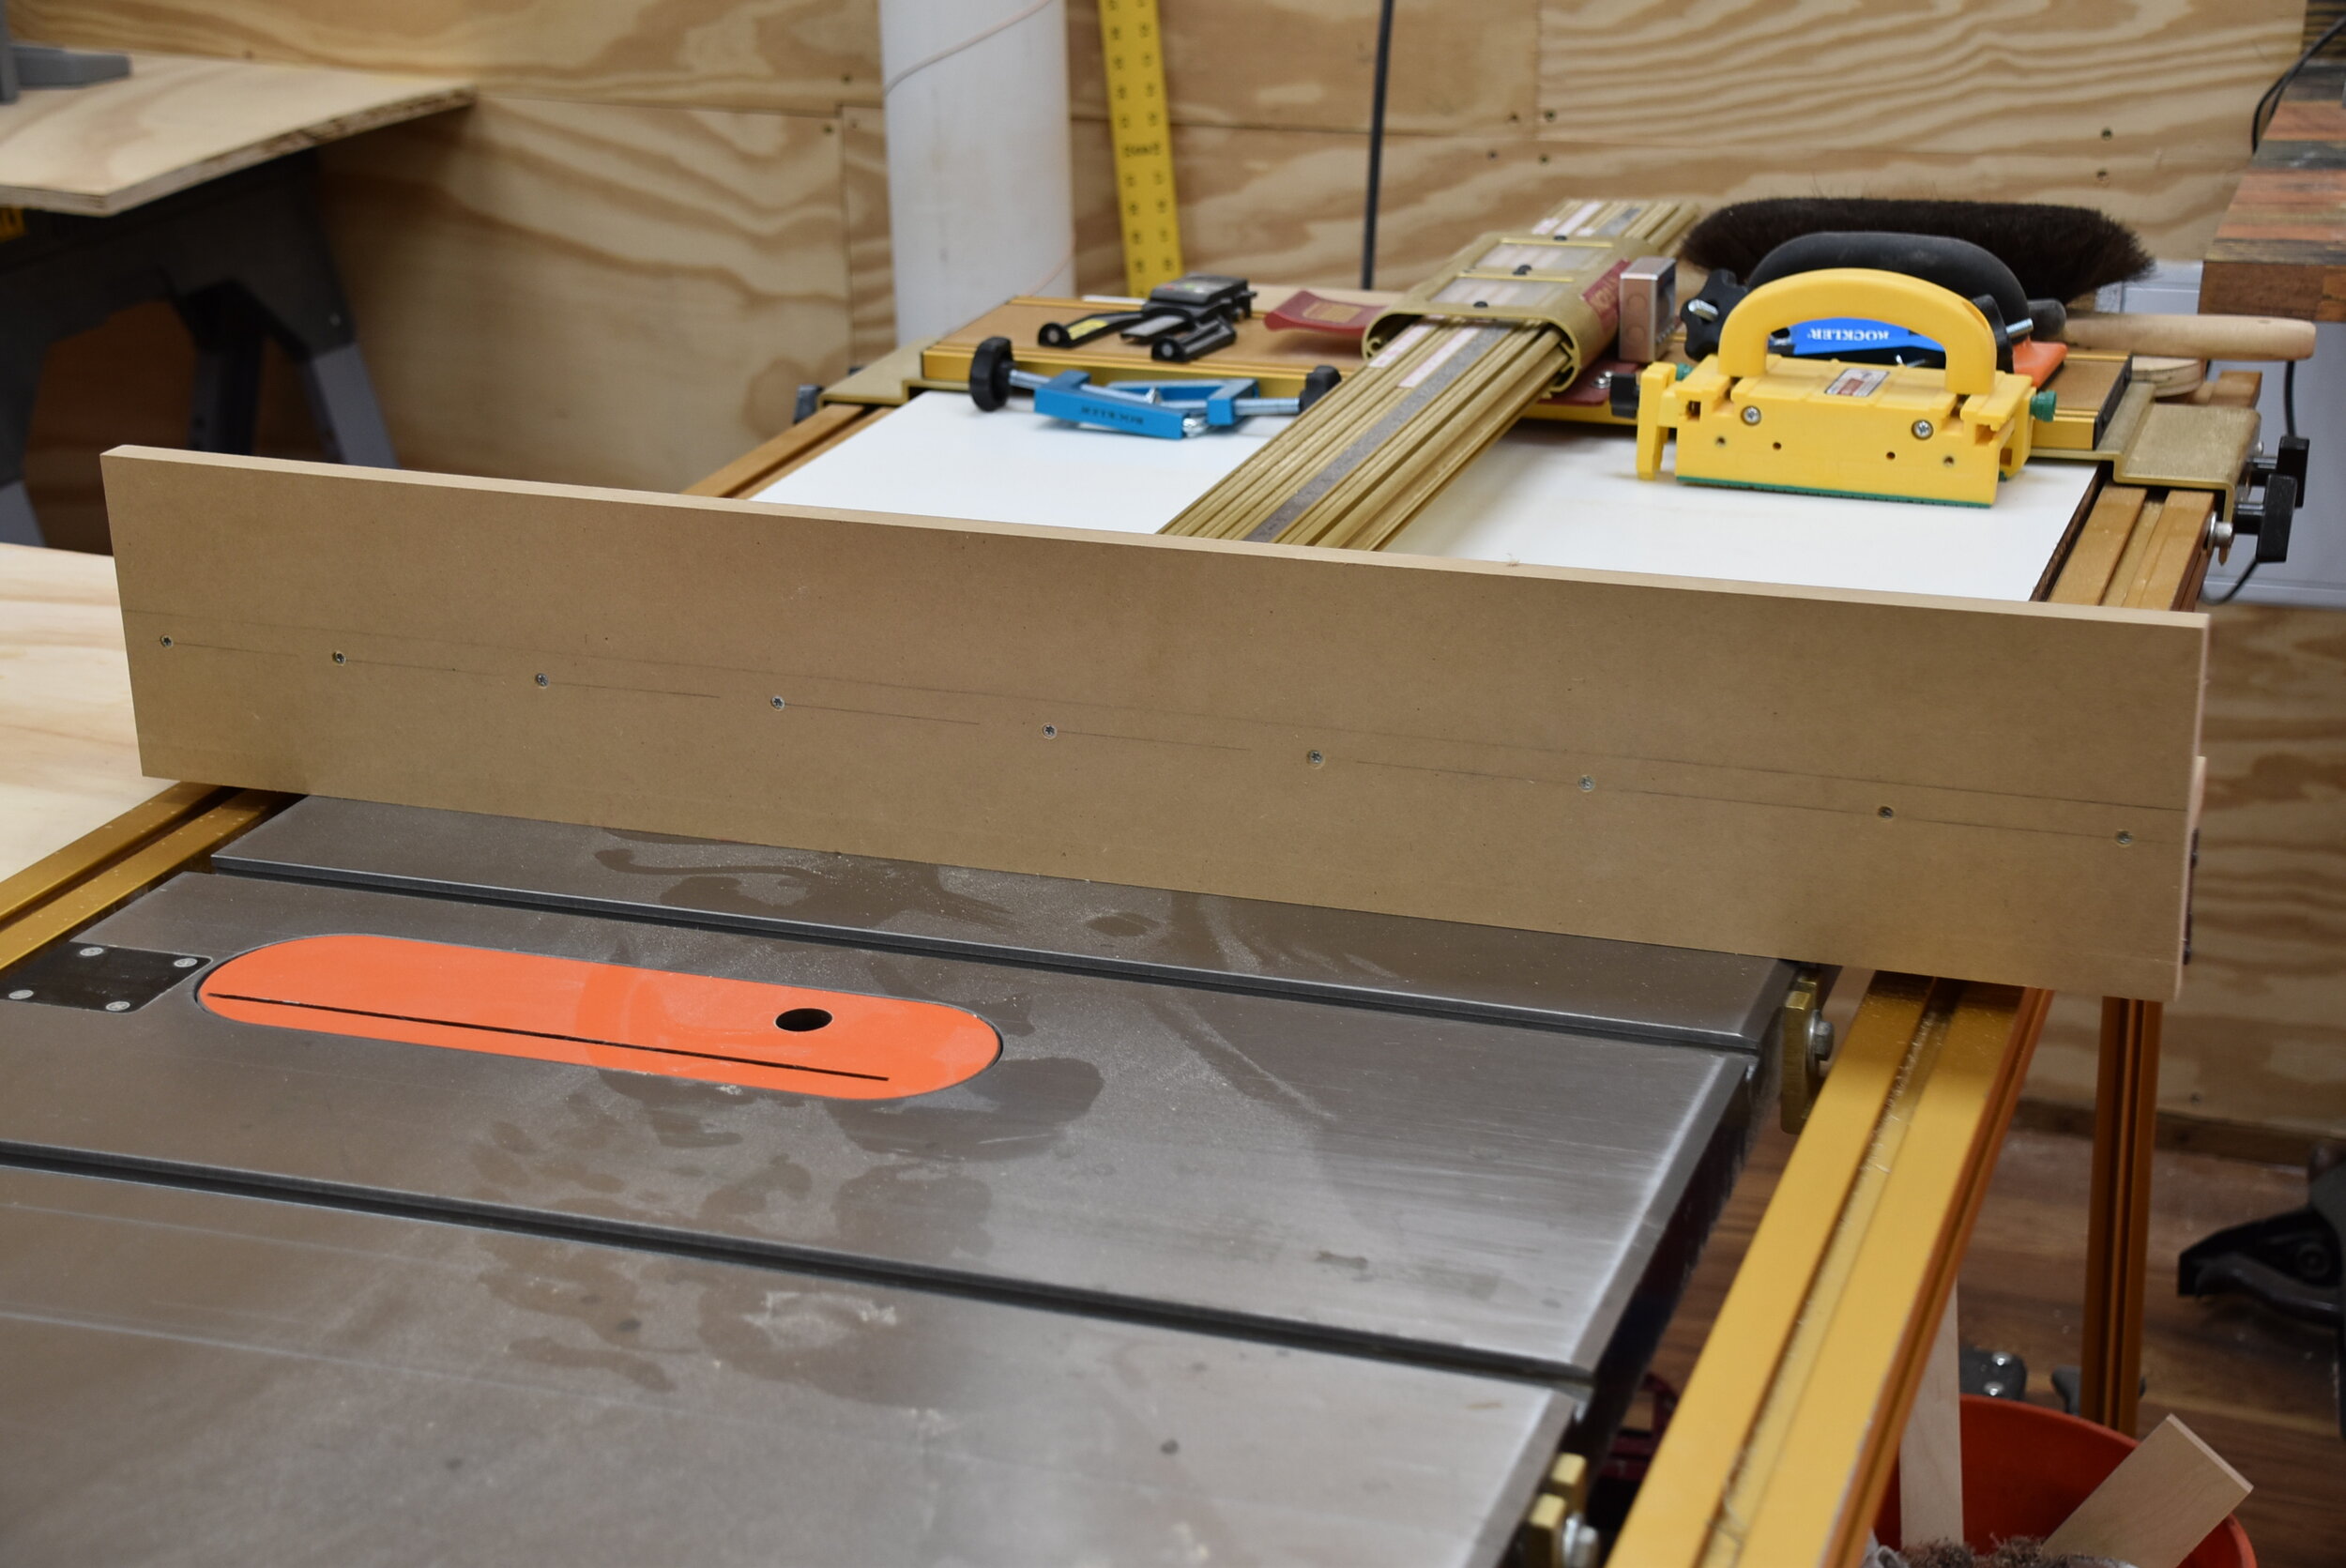
Ready to Use
The completed fence is ready to use. I did get a tight fit of the fence to the table top. The tight fit is important for cutting thin stock like veneer, laminates and other similarly thin materials.