Building the Shop
In 2018 I decided to build a shop in my back yard. I had been working in a single car garage that was simply just too small. When you are working with sheets of plywood you need some room to maneuver. Just like any other project you must start with a plan.

The plan originally was to add space to the back of the house which would give me a 50’ x 25’ shop. Nice and big considering I would be taking up 120 sqft of space for garden storage. We had plans drawn and then received bids for the job. Let us just say I was woefully underfunded. Then I had to go to plan ‘B’.
Plan ‘B’ was to build a separate shop in the same place and attach the current garden storage building to the end. I drew some rudimentary plans already knowing what my setbacks had to be and ended with a 40’ x 20’ building. Now what type of building.
During the summer now that I had a plan I needed to deal with the utilities. The existing utilities ran overhead and to give the new building height clearance I needed to bury the utilities. So through June and July me and some friends hand dug a trench from the meter on the house to the pole making the trench 70’ long 3’ x 3’. We put the electrical, cable and telephone in covered with 6” of river rock as per code then back filled by hand and hand tamped the ground. I had the time and was determined to save money where I could.
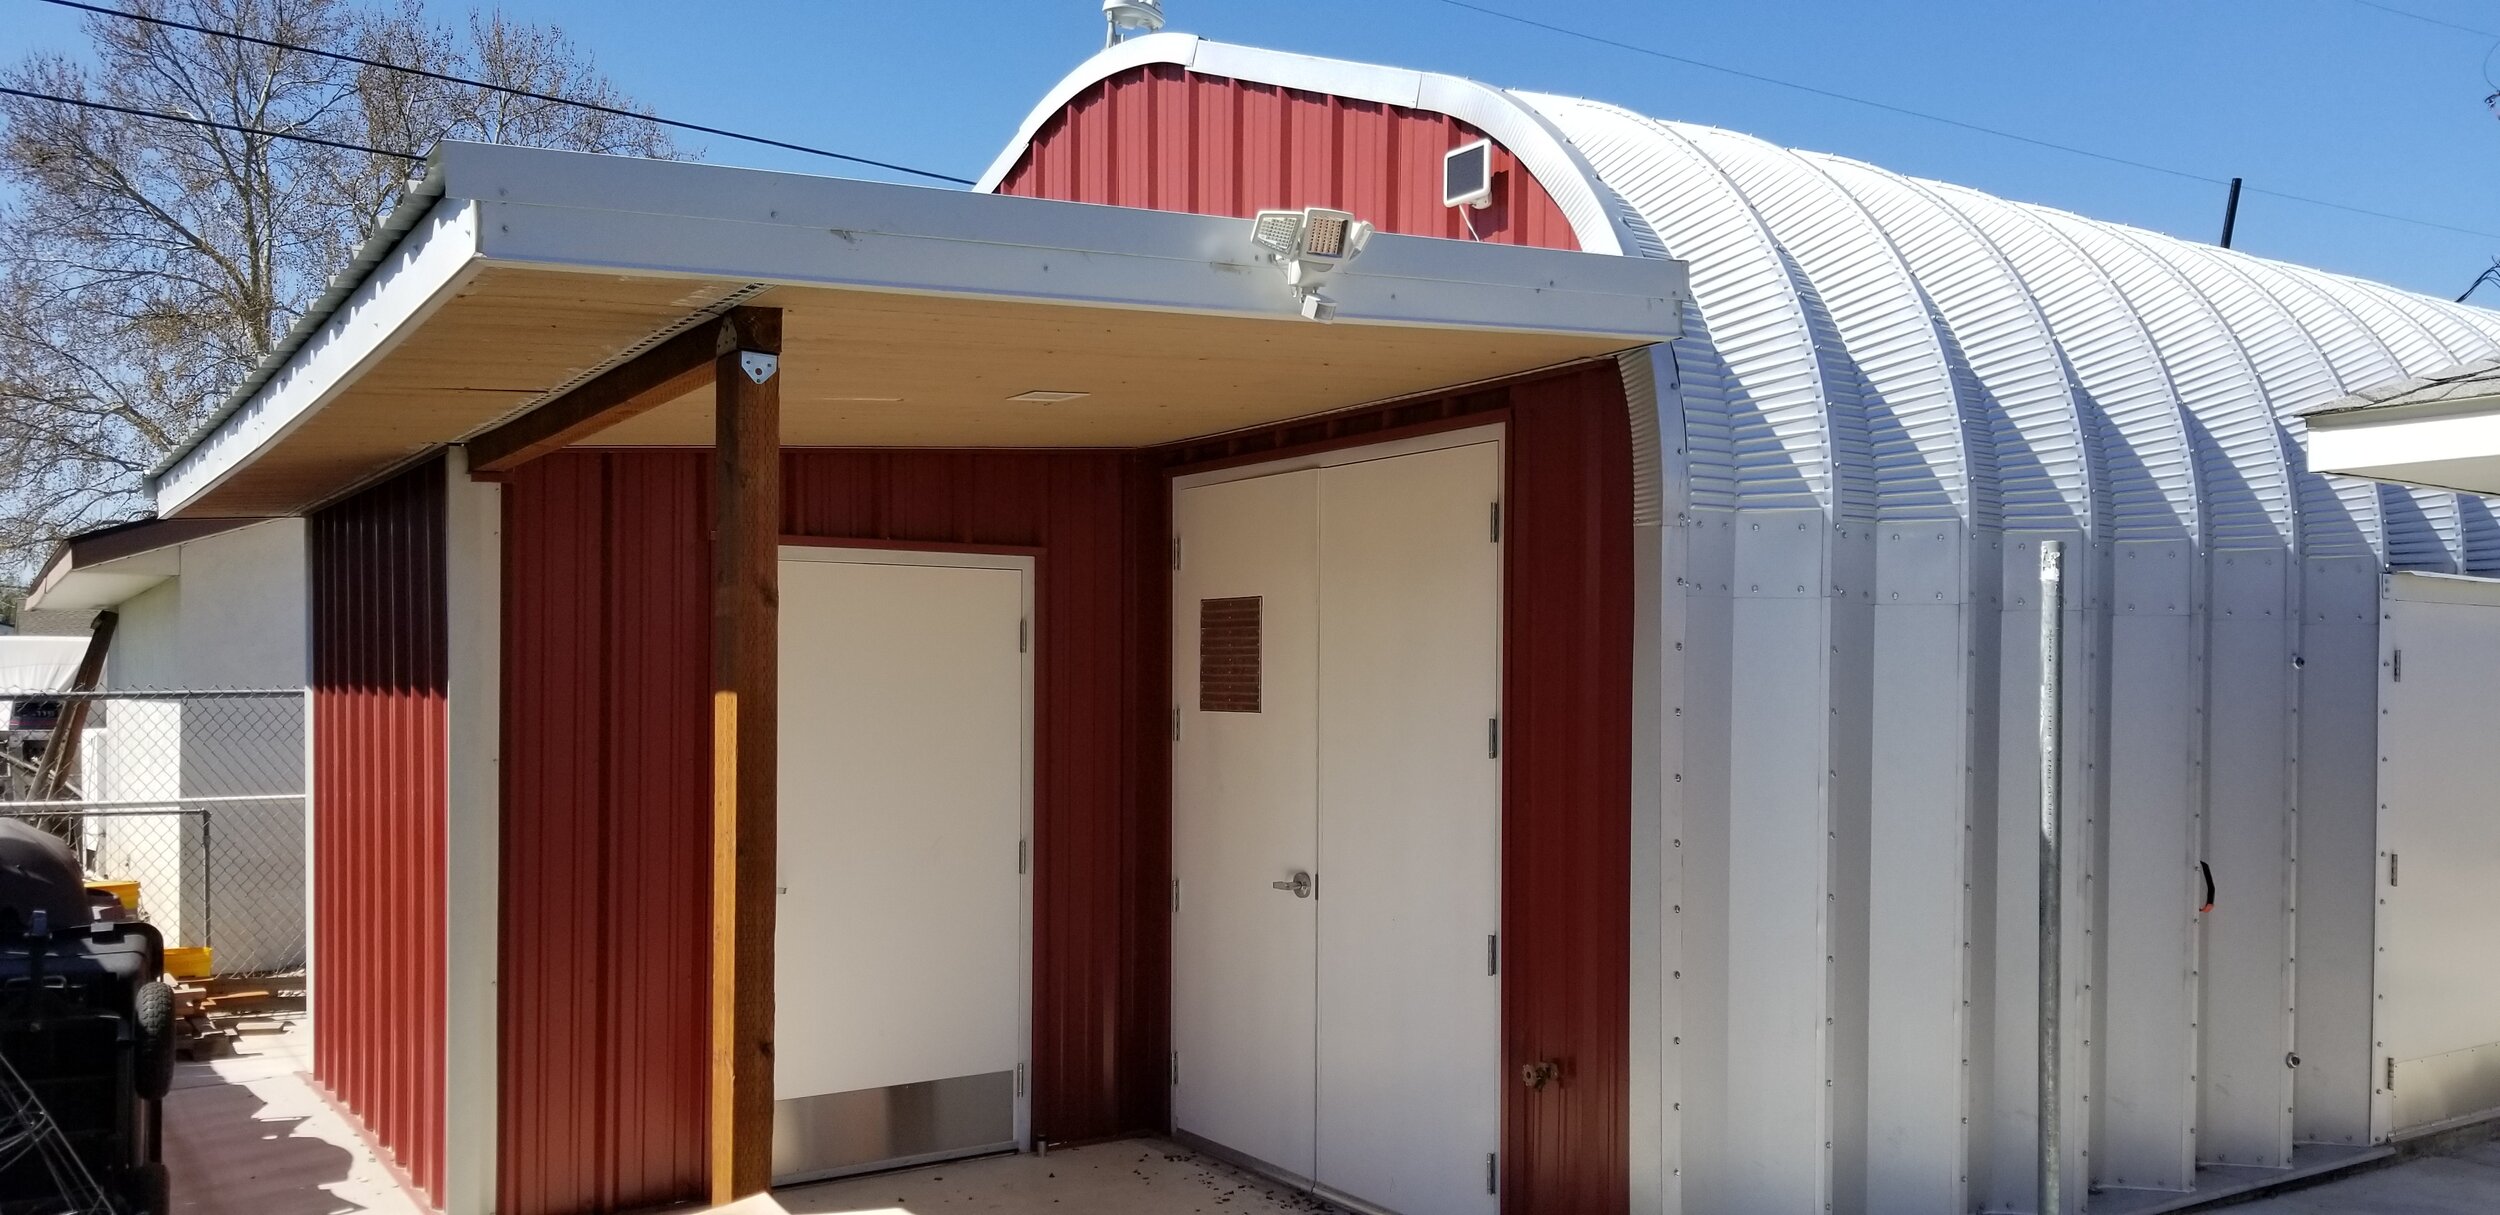
Picking the type of building was important because I needed to maximize my funds. I looked at pole buildings, stick built, basic metal buildings, and a metal building that reminded me of a quonset hut. I took my time looking at each type of structure and determining the base cost. After everything considered, I thought, I decided on the Quonset style building.
I purchased the building through Future Steel Buildings out of Canada. Took 6 weeks for delivery and when it came there were 4 pallets of parts. I kept looking at the pile in my driveway thinking was that all I got for my money. About this same time, I had the excavator crew here preparing the backyard for the foundation and demolishing some old concrete I was replacing at the same time. The excavator started mid-November and finished first week of December.

I had the concrete contractor come out and make sure everything was the way he wanted it. Then it was my turn again. Two tasks needed to be done. The plumber needed to come do a rough-in to the building and I had to put down the moisture barrier, insulation and rebar for the concrete.
That task took me up to Christmas. Our Winter shows up in January, so it made it too cold for me to work outside for about a month to 6 weeks. However, the cold did not stop the concrete contractor he came on the scheduled days and poured a whole lot of concrete.
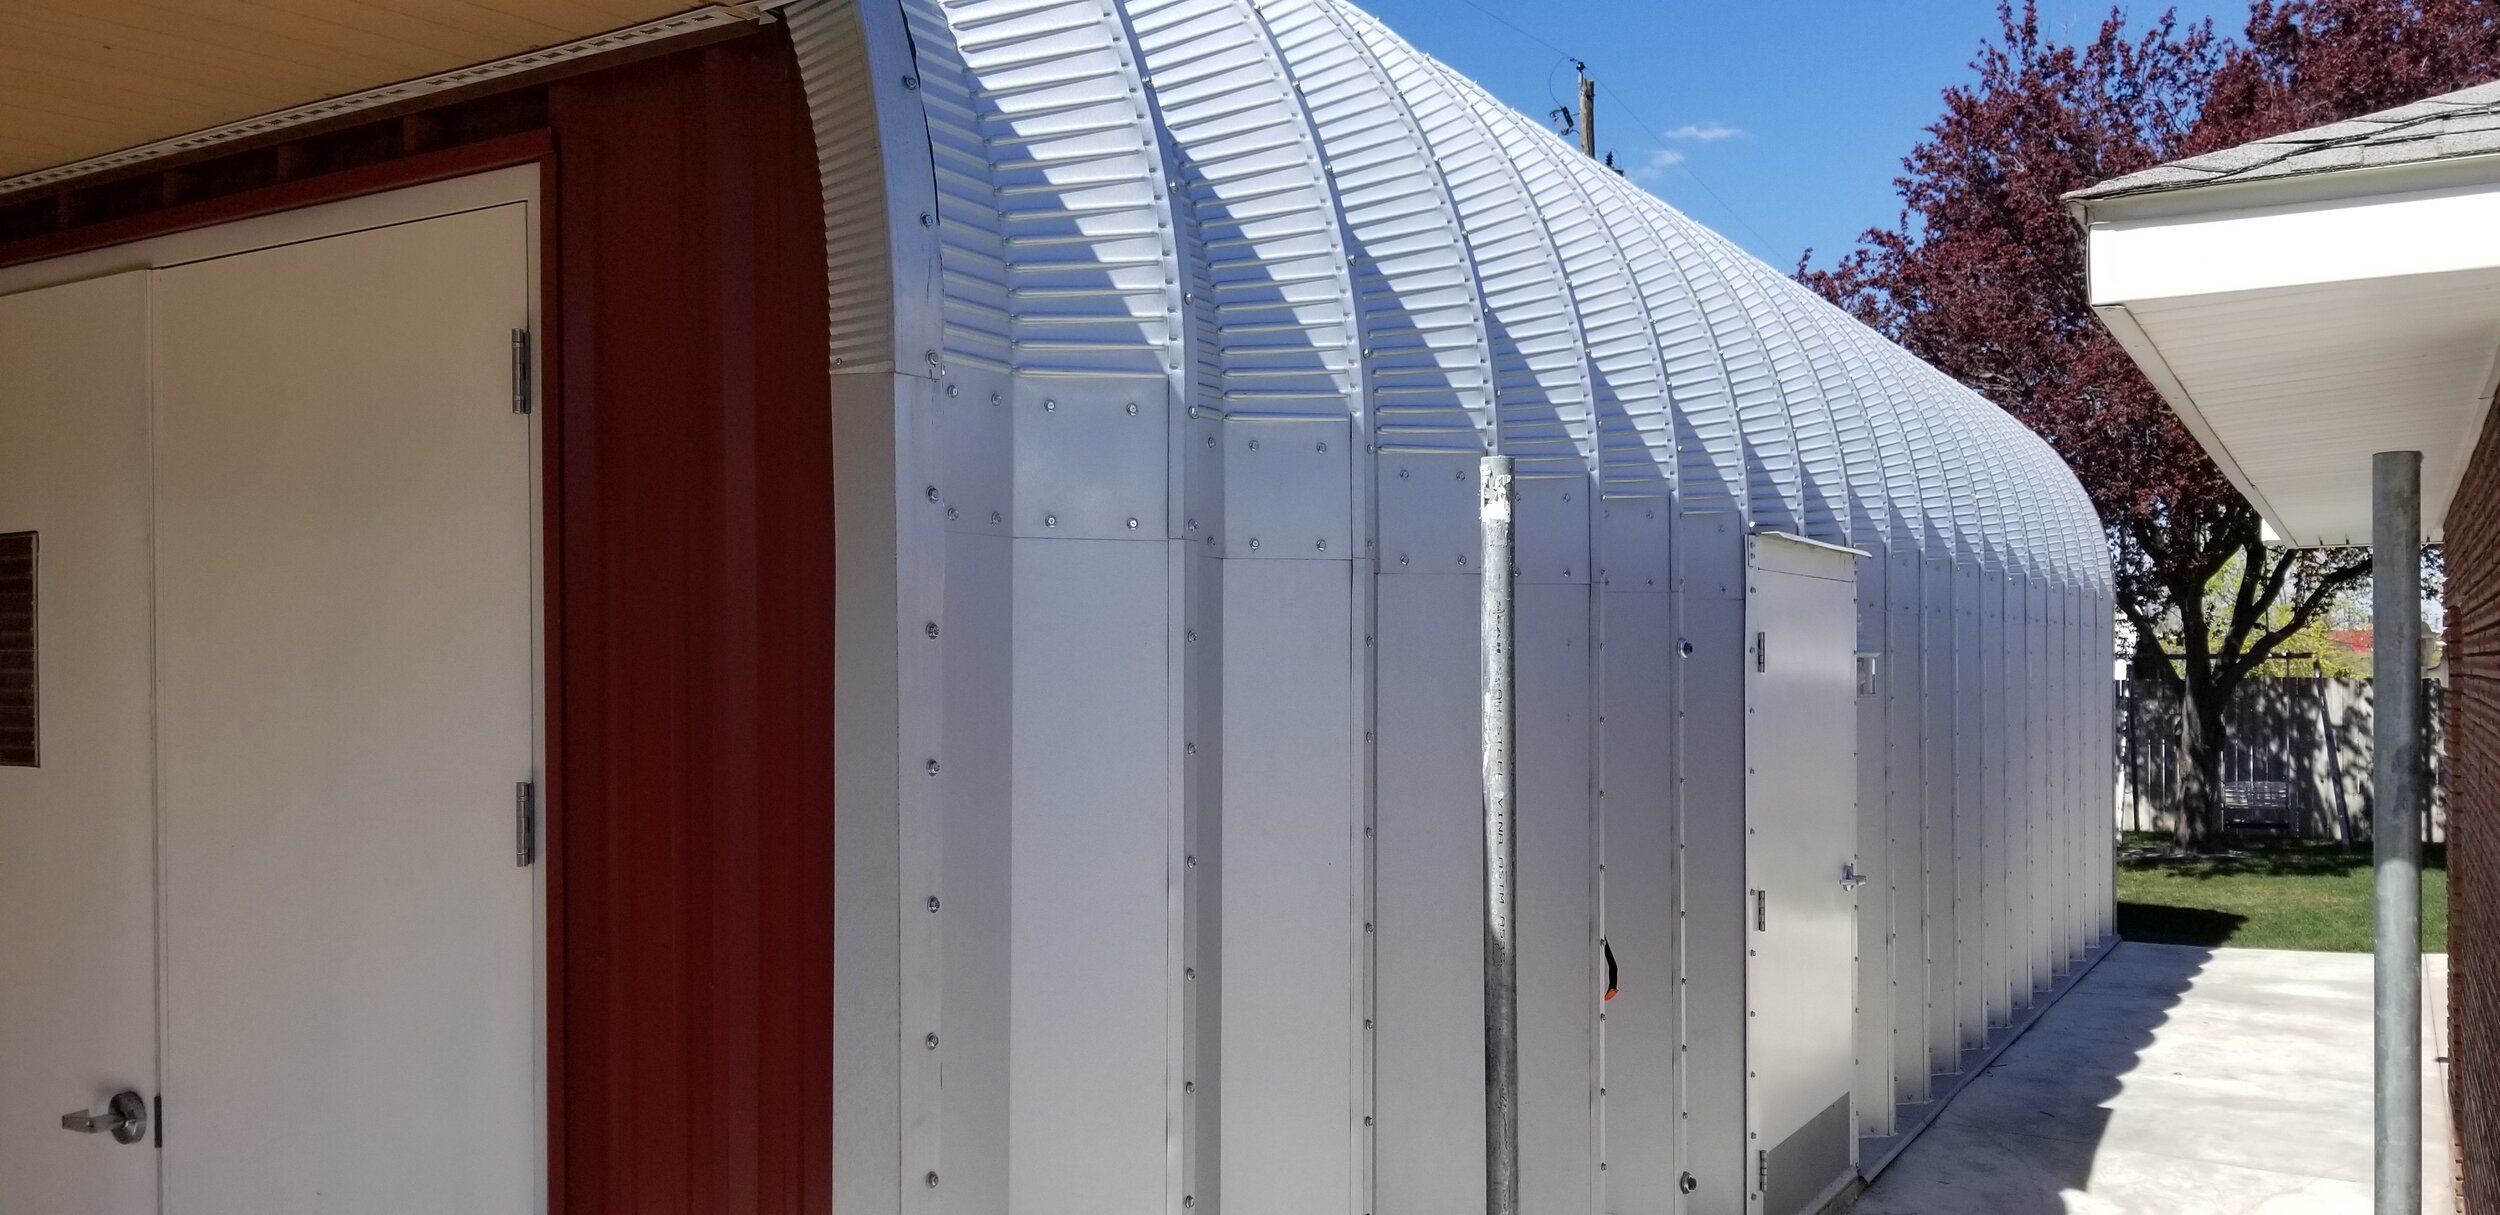
Early March after I was able to go into the dirt backyard without wallowing in mud. I took all the building pieces that made up the basic structure to the backyard by hand. That was a lot of trips. There are 7 pieces to each rib and 19 ribs to the building in addition 4 base plates on each side that anchor to the concrete.
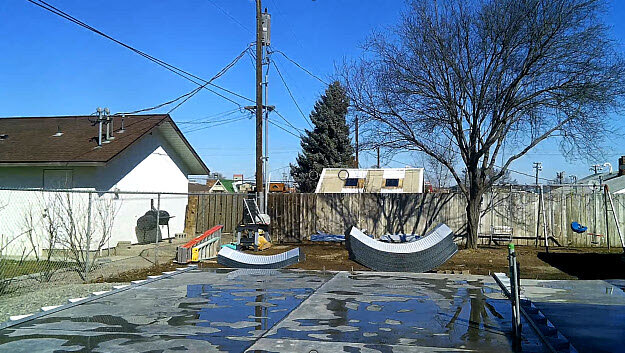
Early March after I was able to go into the dirt backyard without wallowing in mud. I took all the building pieces that made up the basic structure to the backyard by hand. That was a lot of trips. There are 7 pieces to each rib and 19 ribs to the building in addition 4 base plates on each side that anchor to the concrete.

Assembly of the base structure is simple. Bolt the base to the concrete. Bolt the parts for each rib together. Once all ribs are assembled on the ground get two friends who really like you and have some muscle then tilt each rib into place and put enough bolts where the come together to keep them upright. Repeat lifting the ribs until all are upright. There were 3 of us and a man lift. We had the basic structure standing in 8 hours. Putting in the balance of the 3000 plus nuts and bolt took better than a week.

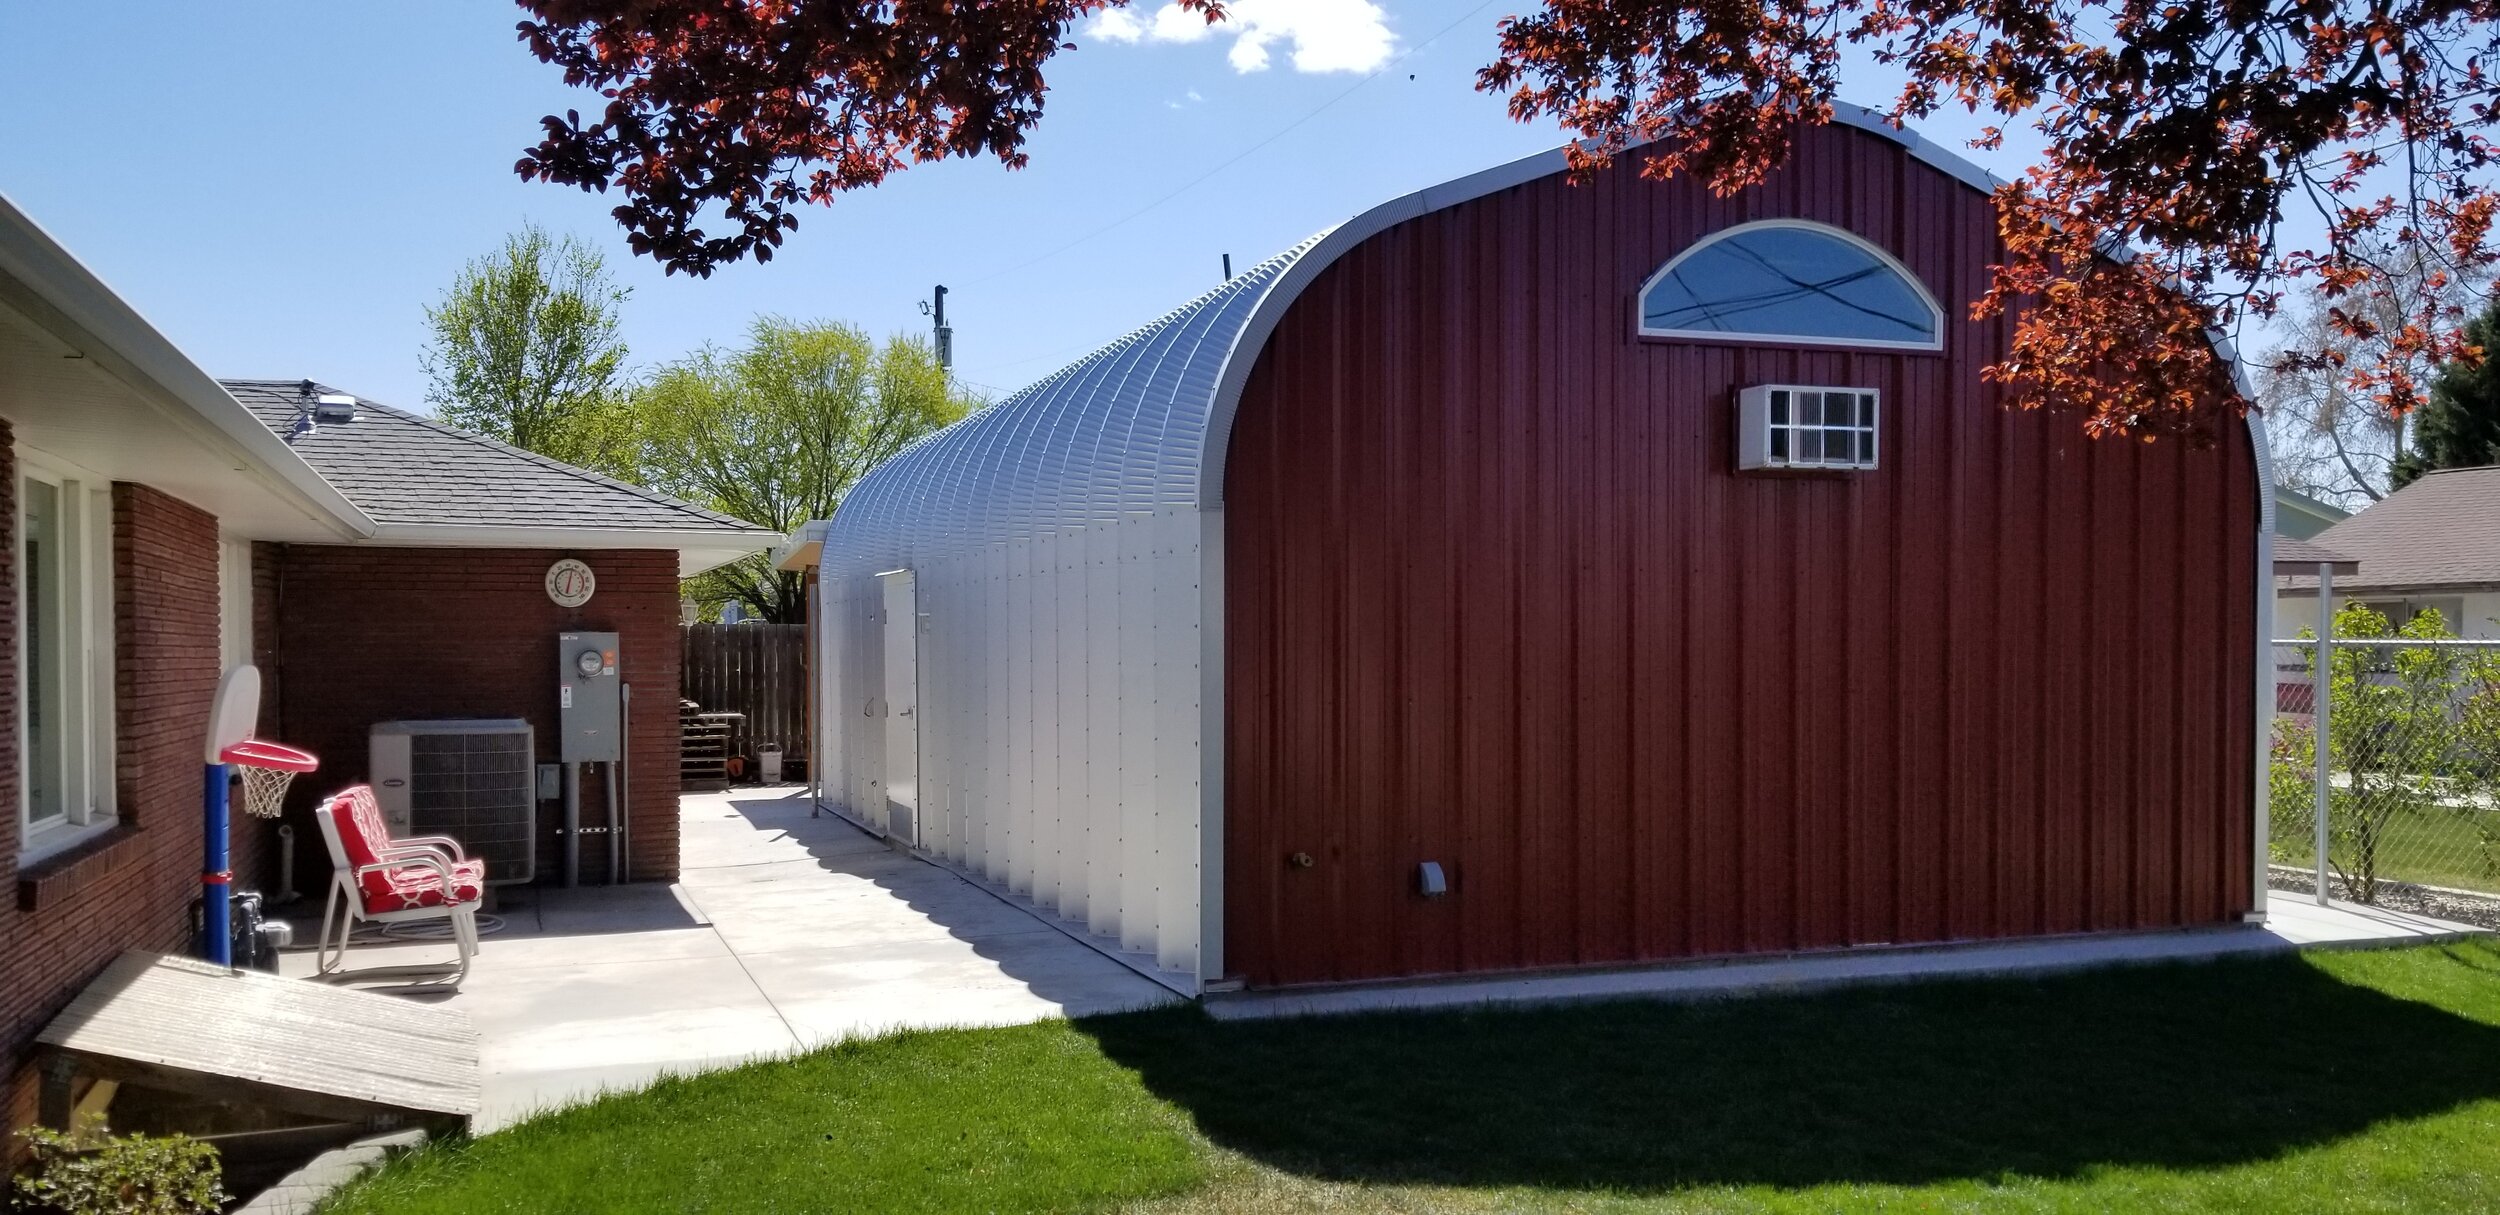
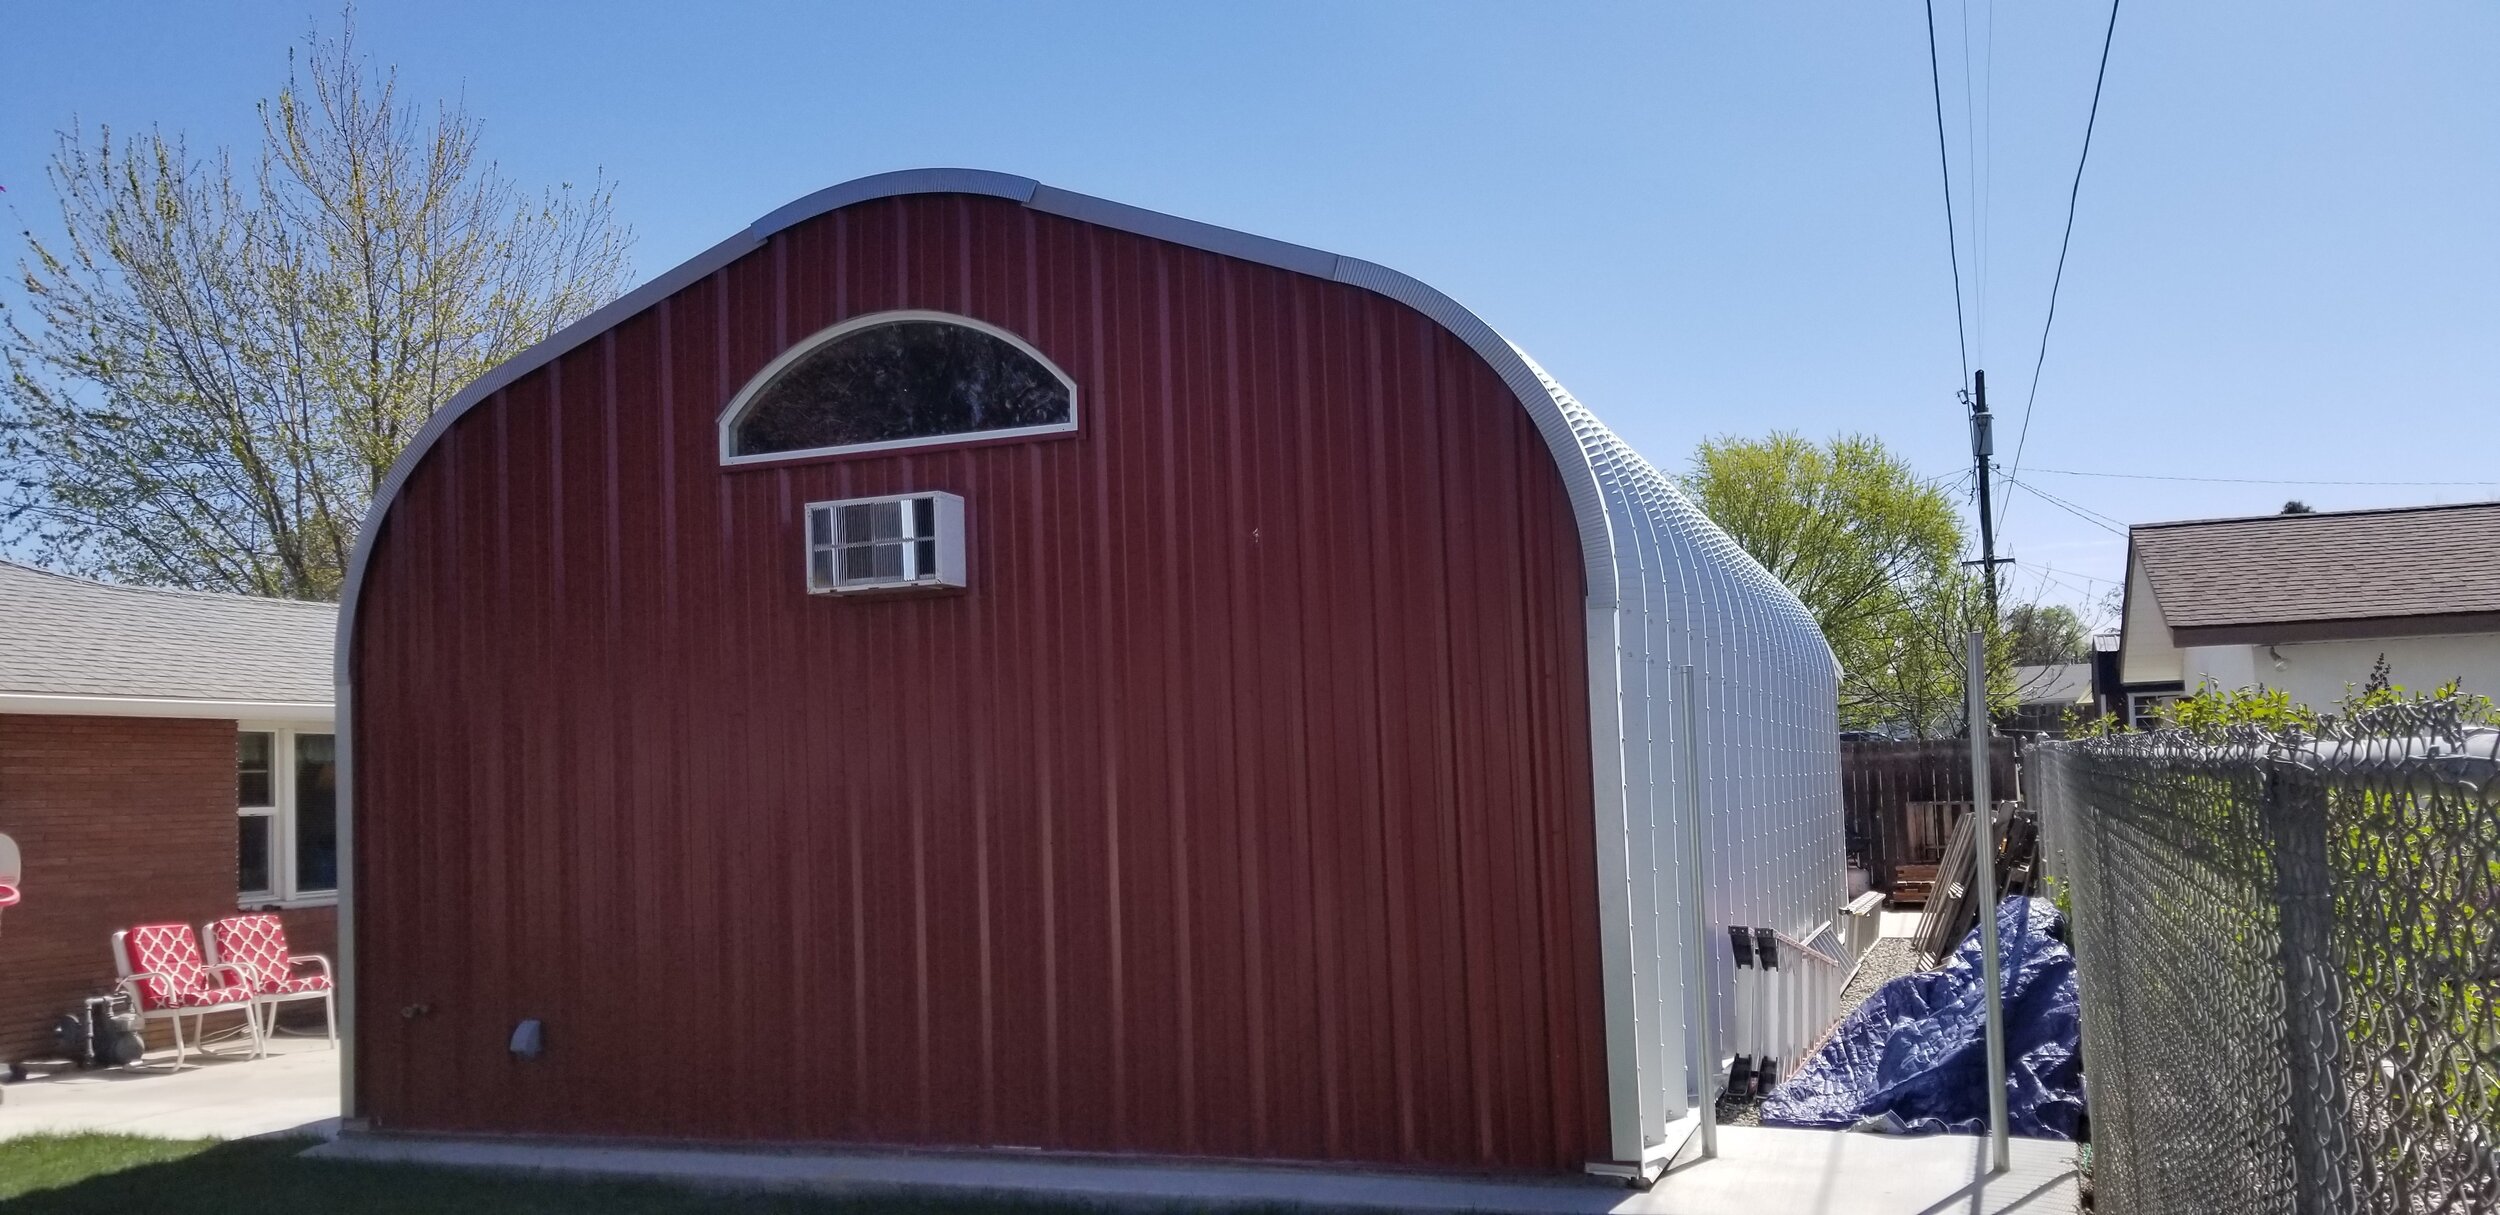
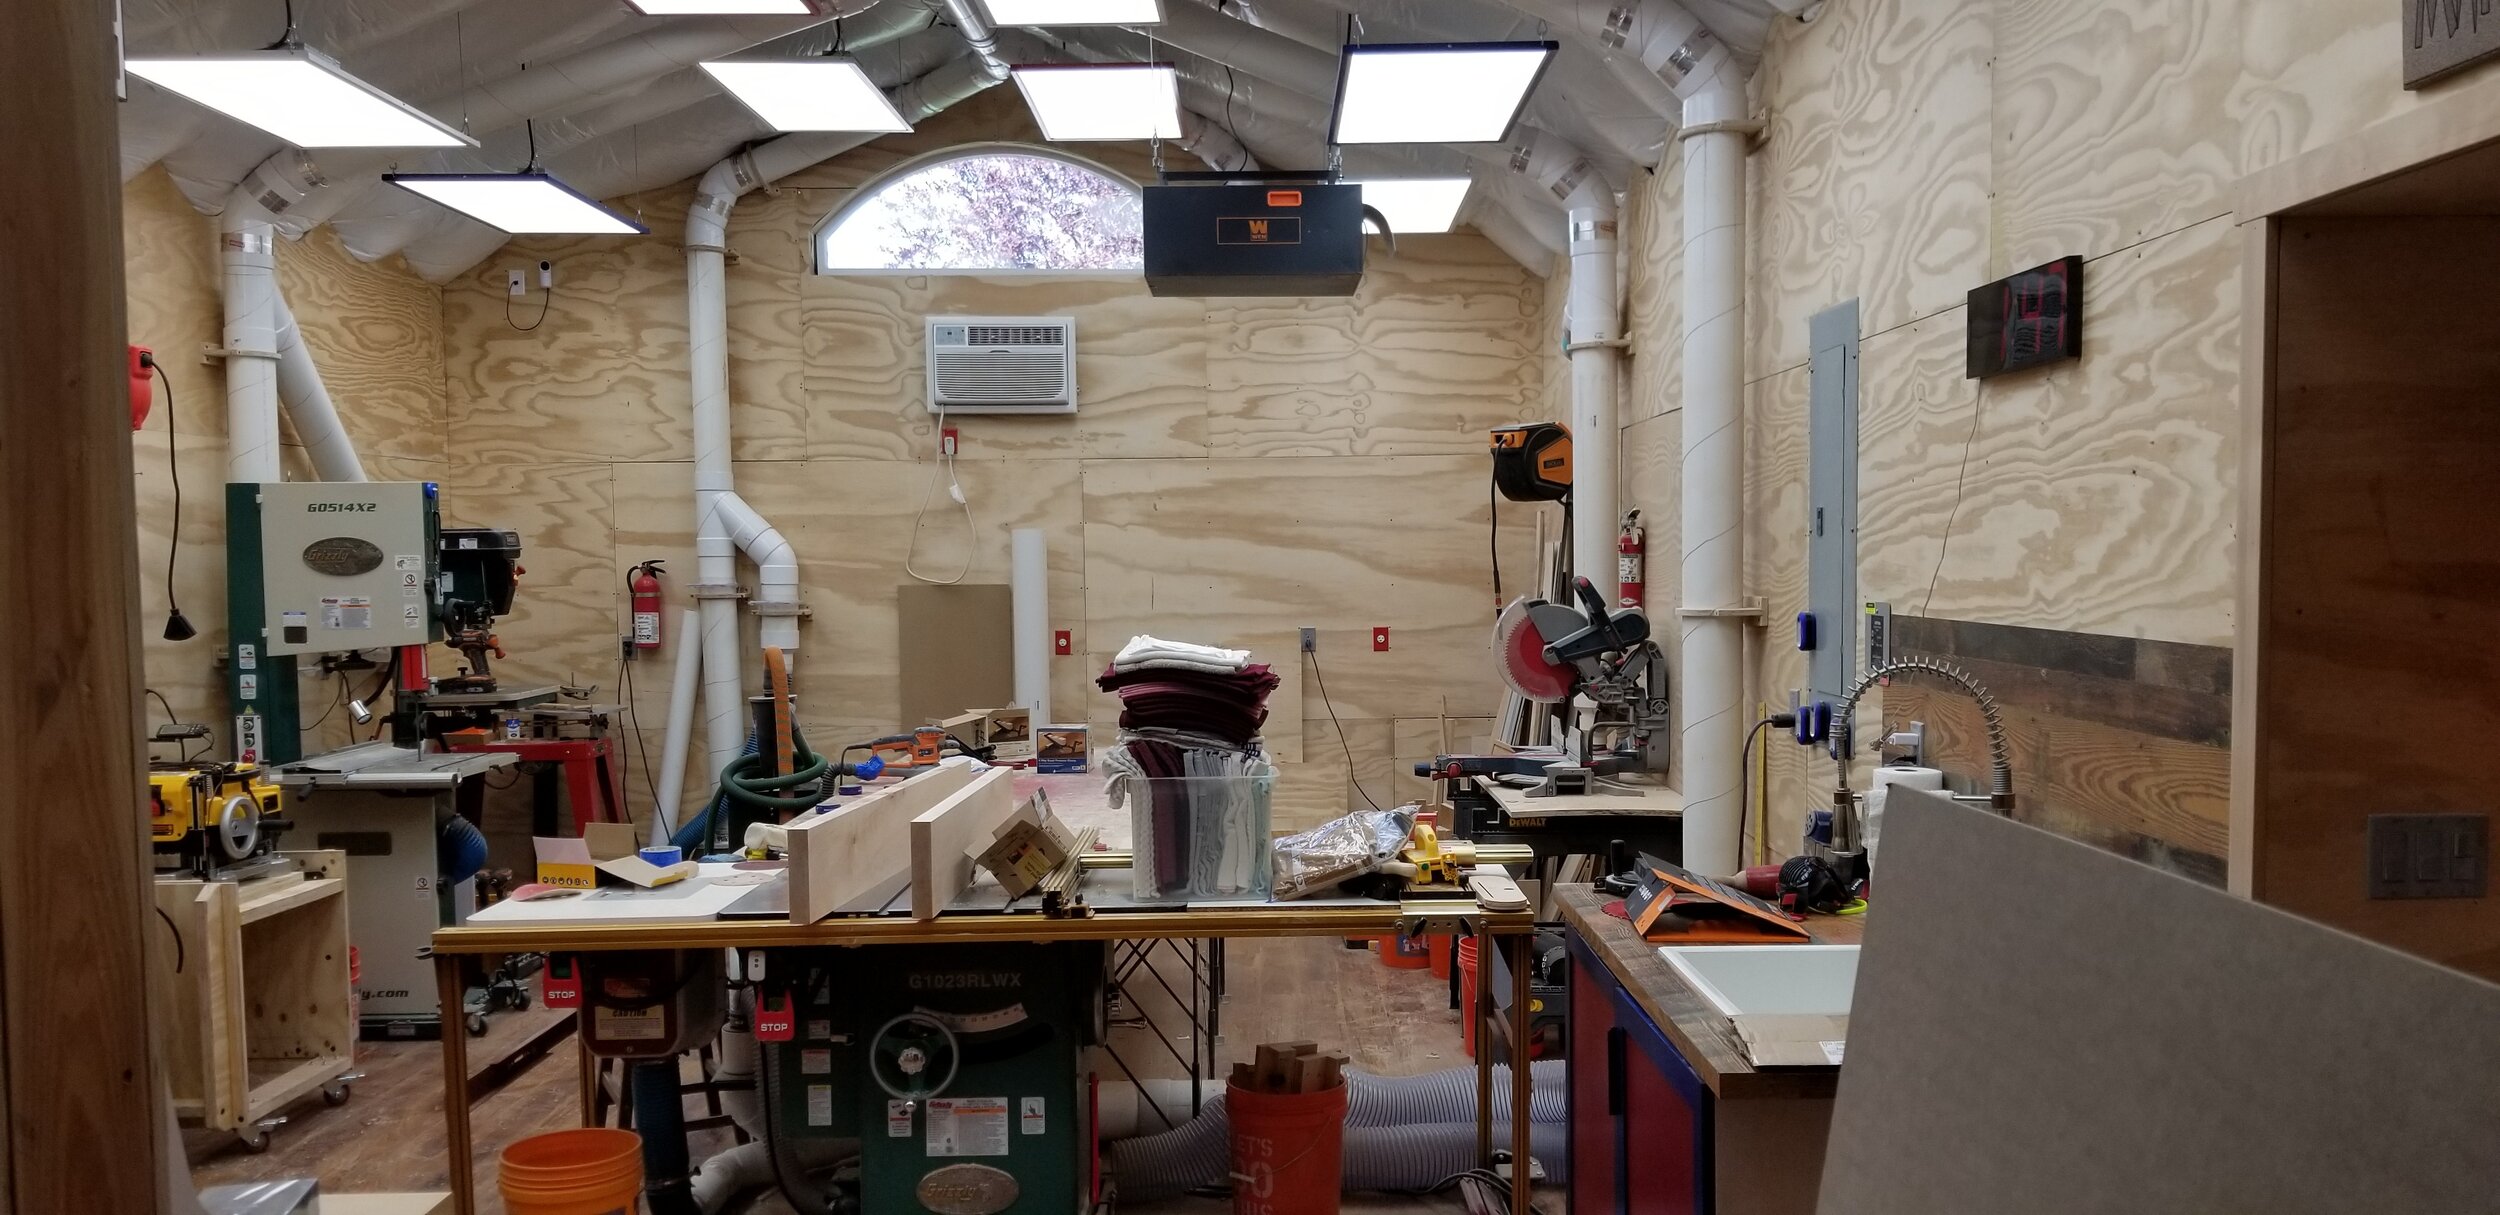
I was just getting into May by this time and now the real work was going to begin. I opted to build the end walls rather than use the same steel type ribs mostly because I was joining the existing garden building to one end. Another friend cam an helped me get the end walls up because with 14 feet to the peak I really did not think doing it by myself was wise. Then time to insulate the metal portion of the building. We used roll insulation and put in R-30 insulation on the walls and ceiling.
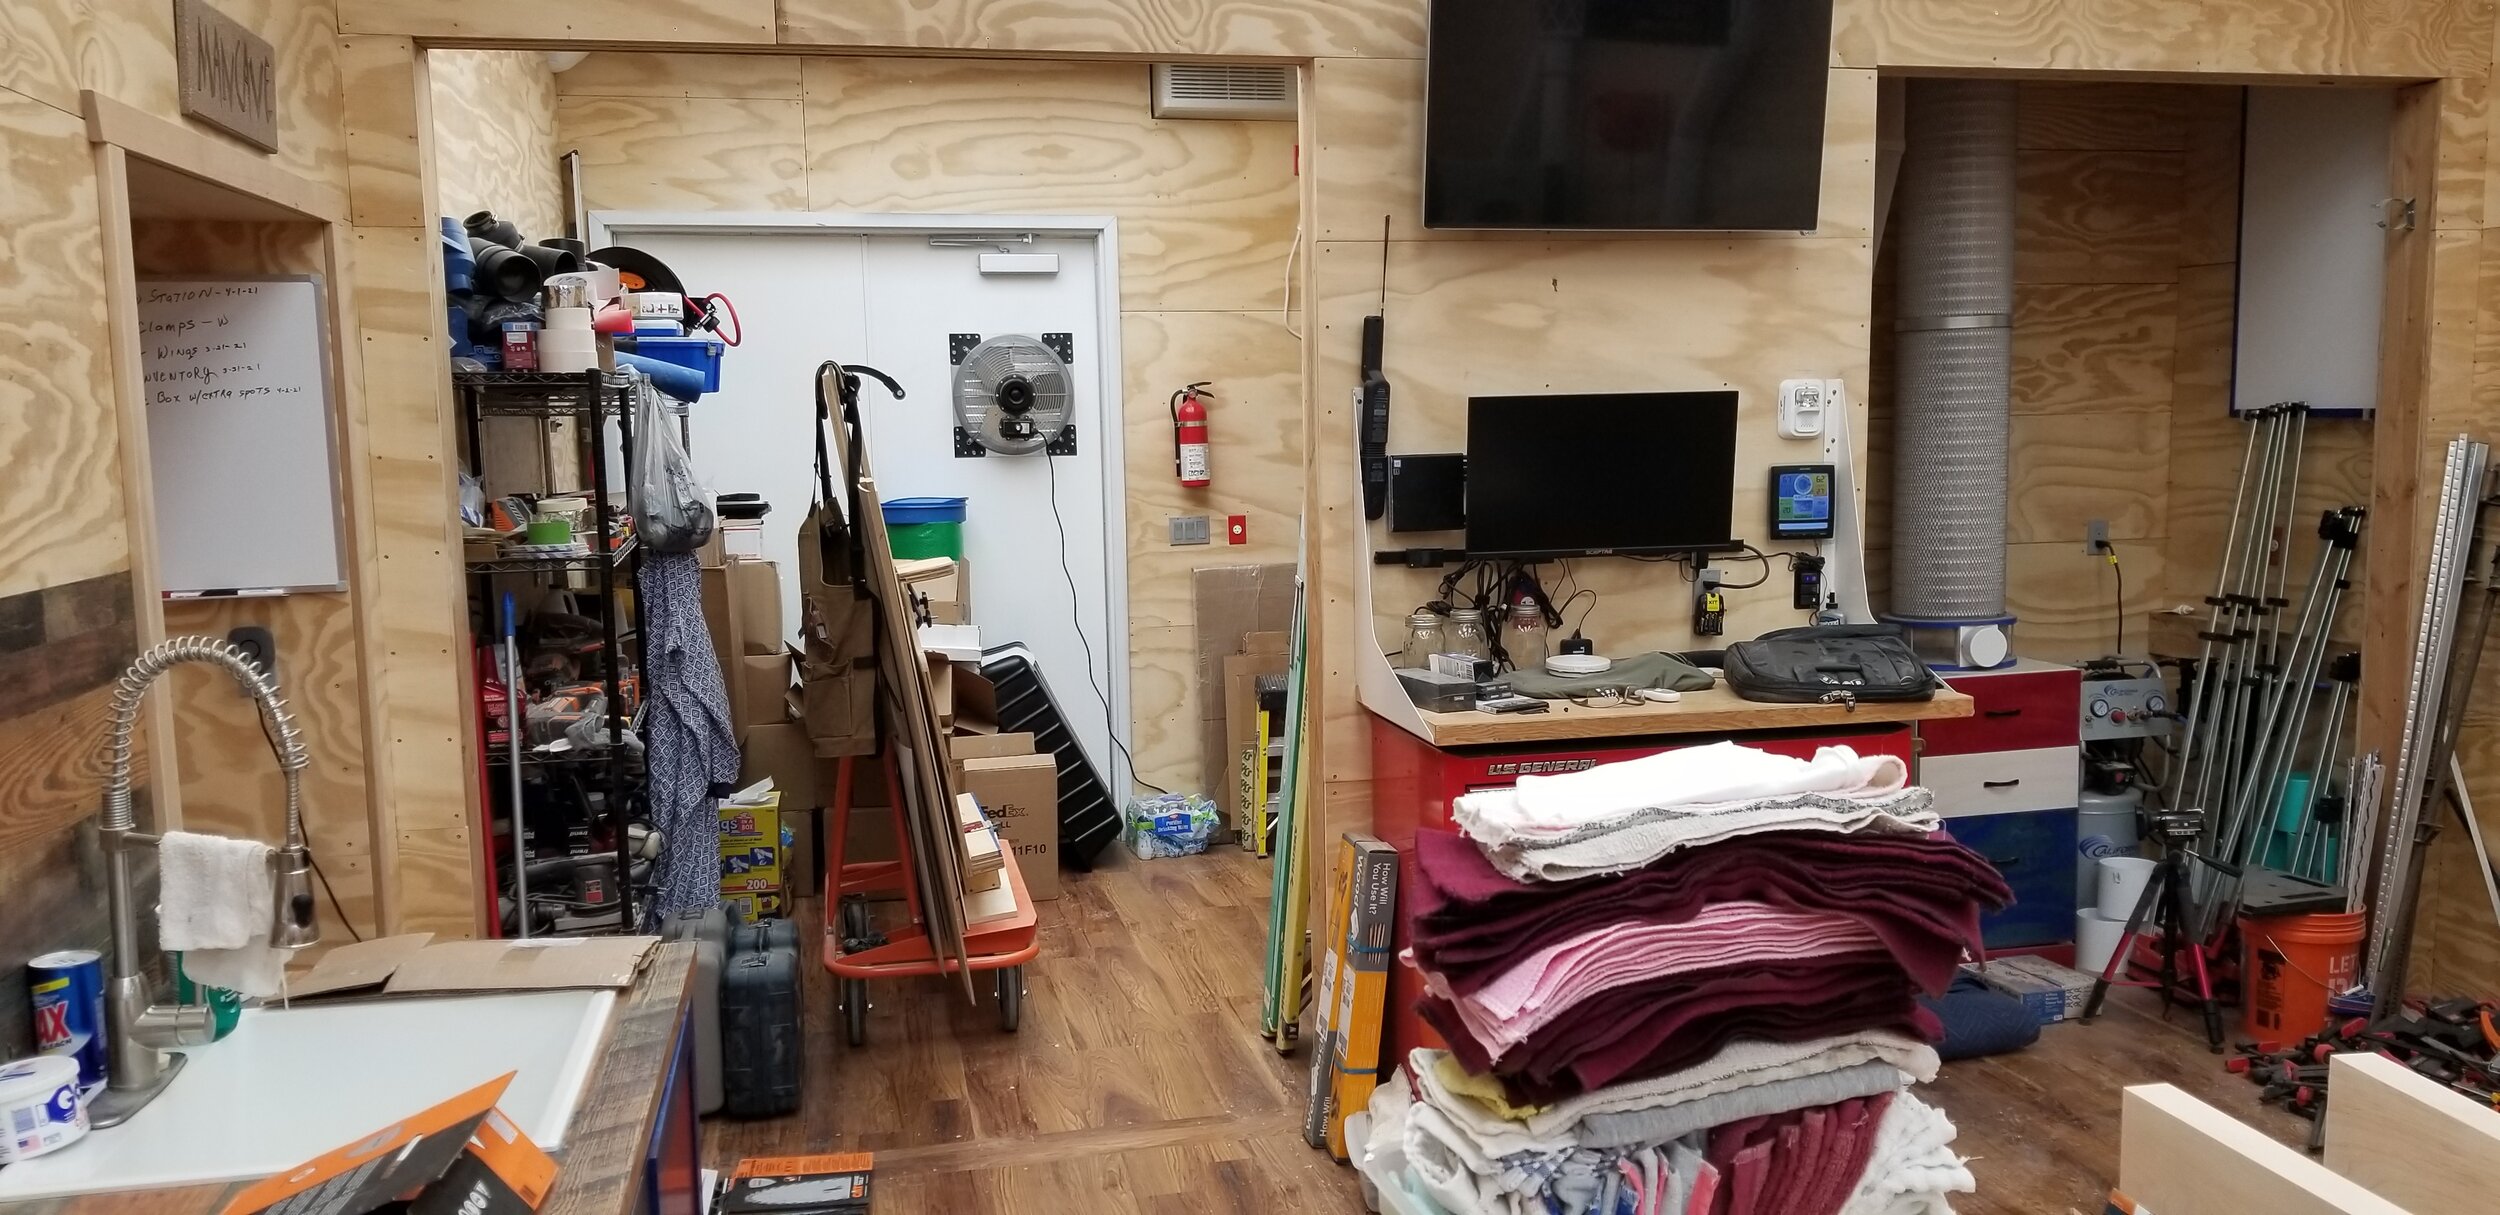
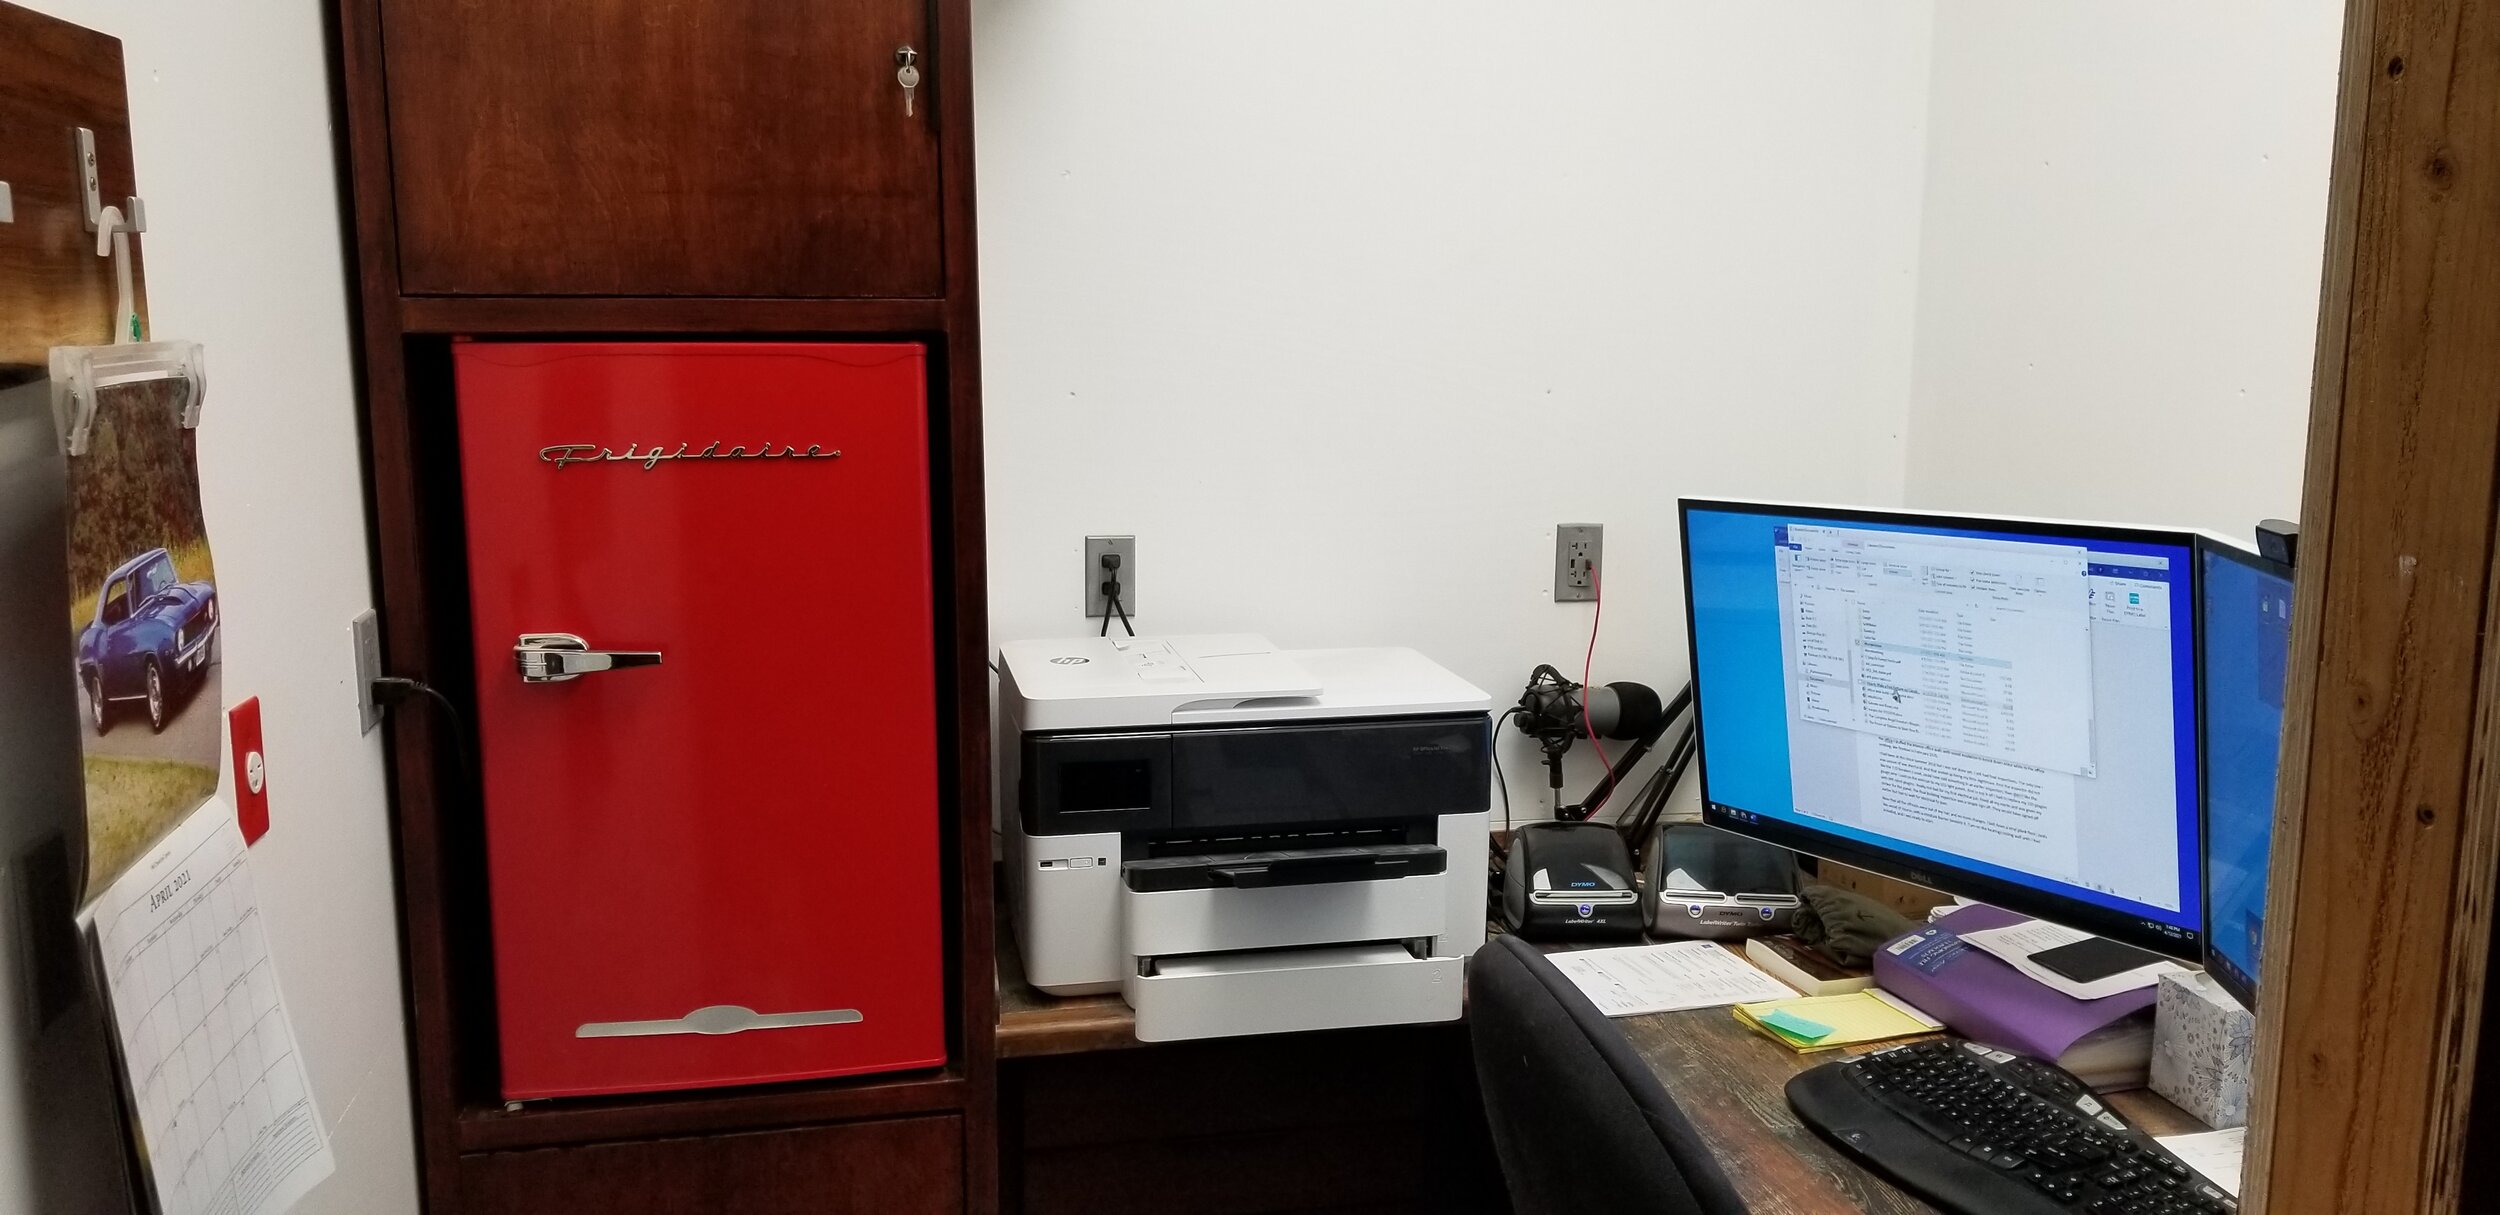
I wanted to be able to use the walls, so I build false walls on the inside giving me a shop, dust collector closet, finish room and a 7’ x 7’ office. I also blew in dense pack insulation in the end walls. With 2” x 6” framing it didn’t get me to R-30, but I believe I got at least R-24.
Before it got too hot, we had to get the new roof line on the garden building. It was previously a peaked roof now it is a single slope metal roof. Then my brother helped me out and we put Barn Red corrugated metal on the end walls. And hung the exterior doors. Now the building was all dried in. On to the interior.
I had internal framing to do. And all but one wall was 2” x 4” framing. The main cross wall was 2” x 6” framing. I ran false walls down each side so I could run my electrical & water. Then created the dust collector closet, finish room and office. I ran the electrical put outlet everywhere. I would rather have too many outlets than not enough. And we finished the interior & exterior plumbing.
My brother came over again and helped put ¾” plywood sheeting on the walls. Before we finished off the office I stuffed the interior office walls with sound insulation to knock down noise while in the office working. We finished in February 2020.
I had been at this since summer 2018 but I was not done yet. I still had final inspections. The only one I was unsure of was electrical. And that ended up being my little nightmare. First the inspector did not like the 110 breakers I used, could have said something in an earlier inspection, then didn’t like the gauge wire I used on the end run to my LED light panels. And to top it off I had to replace my 220 plugins with WR rated plugins. Really not bad for my first electrical job. Fixed all my marks and was given my sticker for the panel. The final building inspection was a simple sign off. They would have signed off earlier but had to wait for electrical to pass.
Now that all the officials were out of my hair and no more changes. I laid down a vinyl plank floor, looks like wood of course, with a moisture barrier beneath it. Turn on the heating/cooling wall units I had installed, and I was ready to start.
From the Summer of 2018 to end of April 2021 I spent all my time focused on getting this project complete. I would say I did about 40% of the work with help from friends. And to those friends I have said thank you many times over. I was still into the shop about 25% over budget. Could I have saved that by hiring someone else? Possibly. But I enjoyed the work and completing the project with my own hands.